
CHICKEN RECIPES
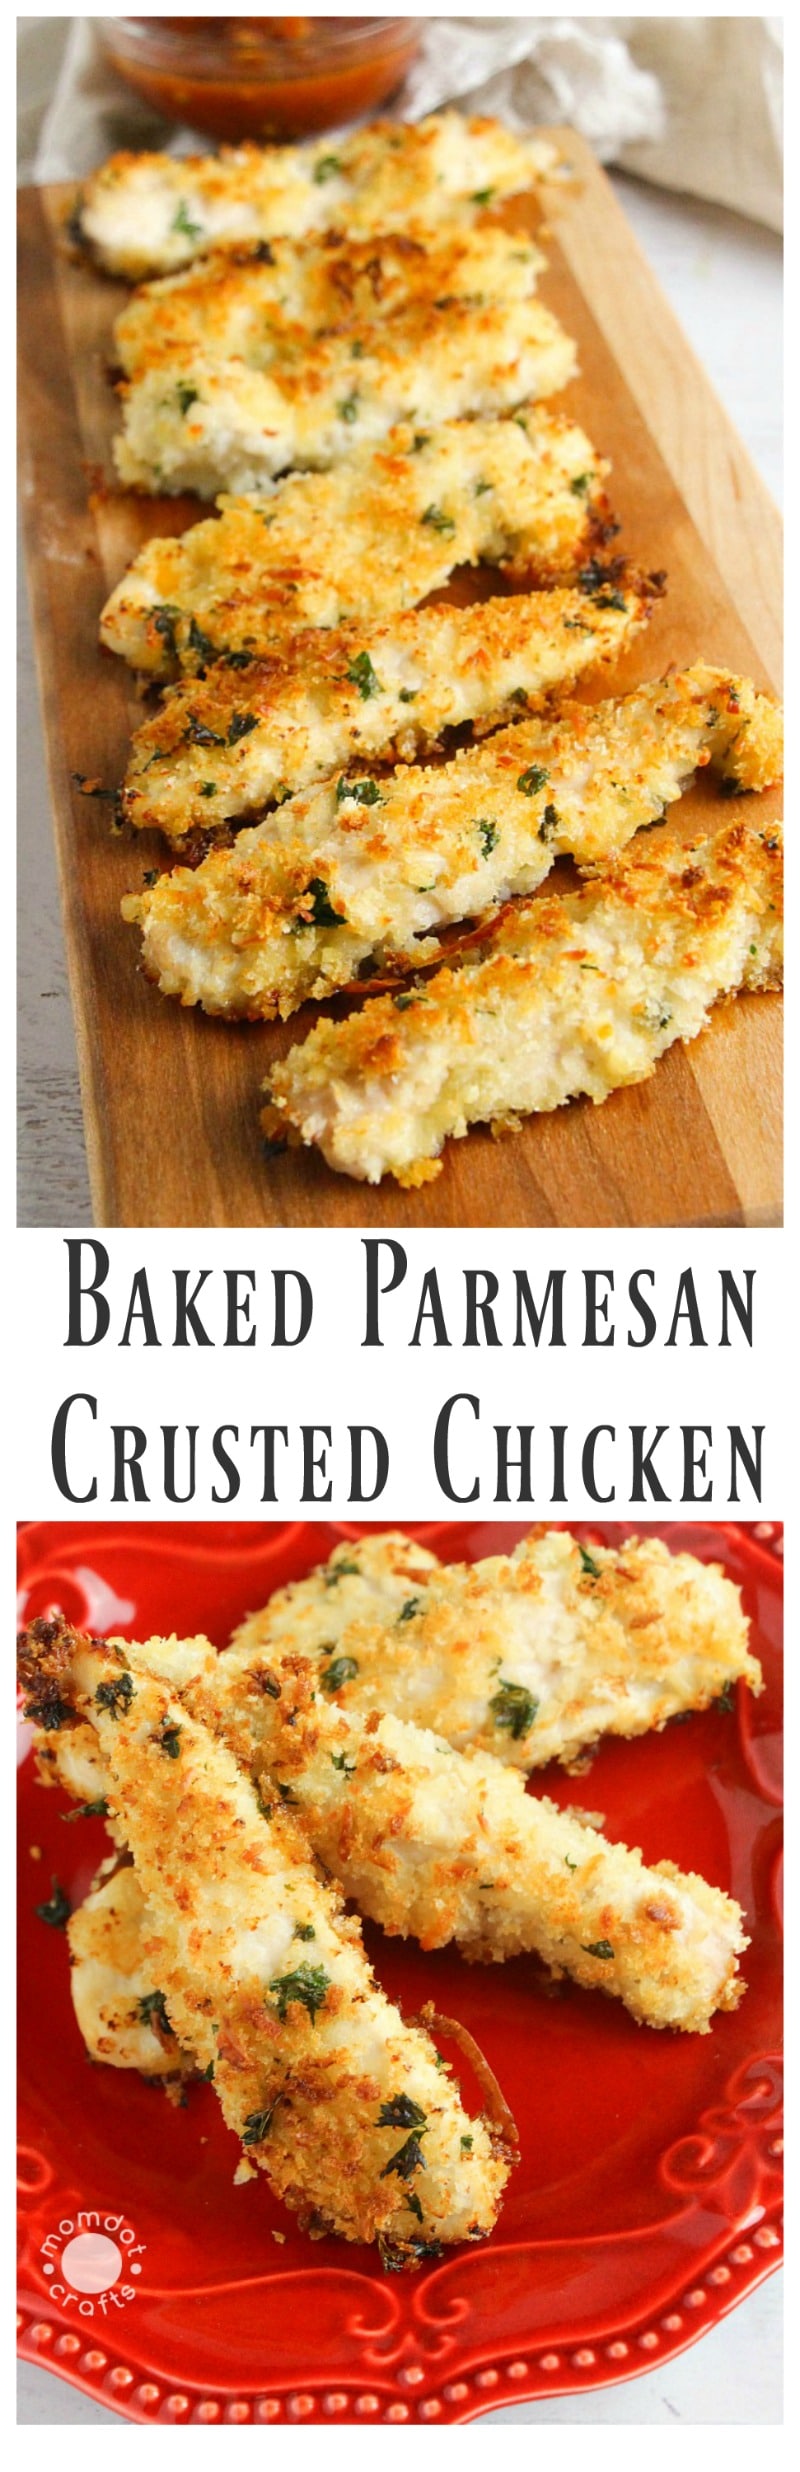
BAKED PARMESAN CRUSTED CHICKEN RECIPE
BAKED PARMESAN CRUSTED CHICKEN RECIPE
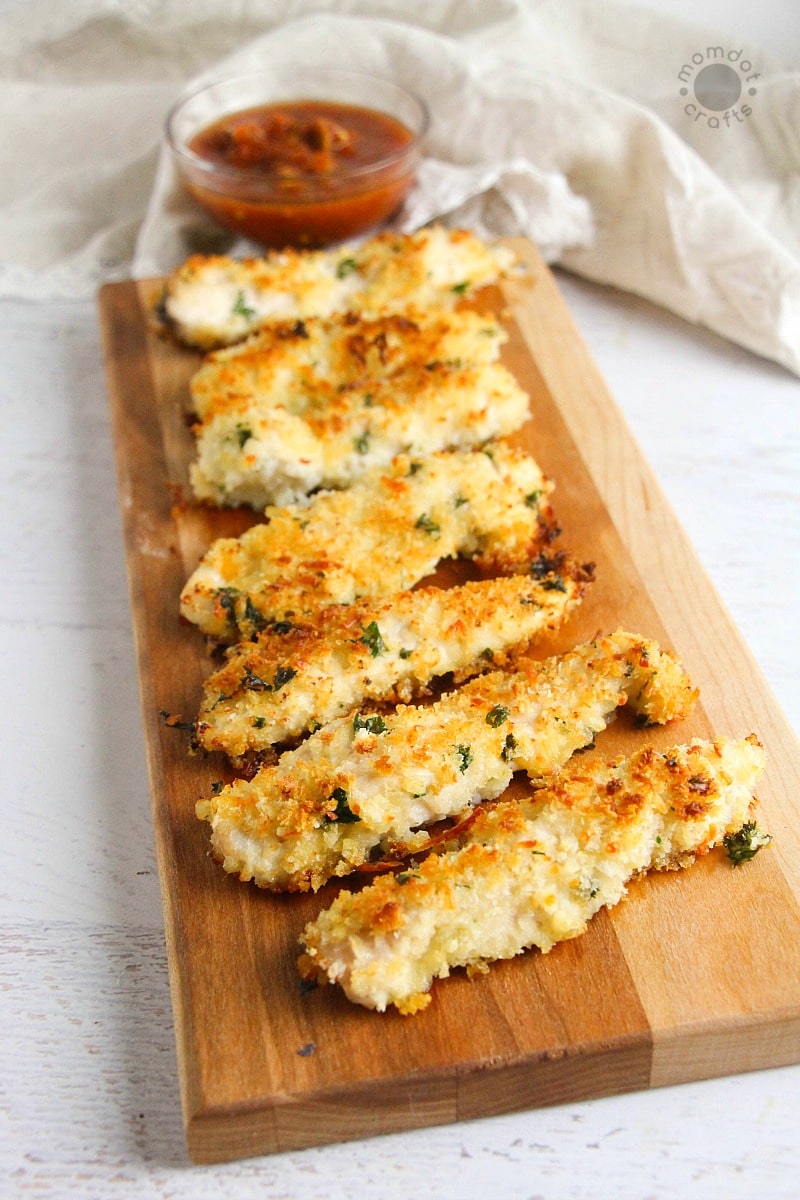
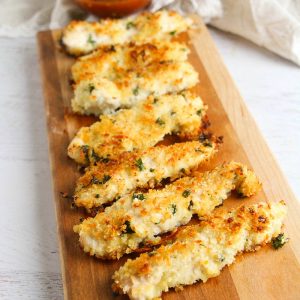
Baked Parmesan Crusted Chicken is perfect Friday night finger food. Covered in a perfect crust that is dip-able, you won’t be able to get enough of this crispy chicken recipe! Personally, when it comes to weekends, I am ready to take it easy on the cooking but I still want something delicious. That is where this Baked Parmesan Crusted Chicken will be your partner.
PARMESAN CRUSTED CHICKEN TIPS
I also don’t want to be tempted to hit up fast food in a last minute decision, messing up my waist line and my wallet.
If you find yourself riding that very same line every week, make sure you put Baked Parmesan Crusted Chicken on the menu. It’s an easy and delicious chicken recipe that will give you all the temptation of great restaurant food, minus the guilt.
Plus, no one will know if you have seconds (and you will, trust me!).
This version is also so much easier and keeps the kitchen cleaner – whenever I try to deep or pan fry anything I end up cleaning little bits of oil off everything! Let the oven do the work for you.
I also love that this recipe is so budget friendly.
I usually have all these ingredients on hand in the pantry, so all I need to do is either buy or thaw chicken and dinner is basically done.
BAKED PARMESAN CRUSTED CHICKEN RECIPE
Scroll to bottom for printable version of this recipe!
INGREDIENTS
- 4 Chicken breasts, boneless, skinless
- 1 cup panko bread crumbs
- 1/2 cup grated Parmesan cheese
- 3 tablespoons minced parsley
- Salt and pepper, to taste
- 3 Tablespoons melted butter
- 3 Tablespoons fresh lemon juice
- 2 garlic cloves, minced (2 teaspoons, if using bottled)


This chicken recipe serves 4 – 6, depending on how hungry you are, and goes from fridge to table in about 40 minutes.
PRO TIP: Every time I am working with raw chicken, I honestly get grossed out. We all know how sick it can make someone to be exposed to what it leaves behind. I love these Kitchen Gizmos– its a cutting board that takes away the worry!
Standard cutting boards get scratches which become a breeding ground for bacteria.
This cutting board is extremely scratch-resistant, preventing any bacteria from building up, has two sides, and a juice catcher so your defrosted chicken doesn’t leak to the counter.
*You can get rid of a whopping 54% of bacteria just by washing it with cold water.
*To sterilize up to 99.6% just pour boiling water over the board.
*Big working surface 15″x11.75″
PARMESAN CRUSTED CHICKEN
To get started on your Baked Parmesan crusted chicken, first preheat oven to 350 degrees.
Chop up your parsley and garlic, which will help bring some delicious flavor to your Parmesan crust.
Slice the boneless, skinless chicken breasts into “fingers” – cutting lengthwise and cutting thicker pieces in half again, for even thickness throughout. For even less cutting, consider using chicken thighs.
If you love these, consider trying my Keto Baked Chicken!
If you choose to, you can also chop this down into a “nugget.”
Pro-tip for working with raw chicken:
To make sure the breading stays put and forms that fantastic crispy crust everyone is looking for, take a paper towel and pat off the chicken before your dredge it. Just be sure to toss it directly in the trash – no cross-contamination, please!
I also always use disposable gloves when cutting and dredging chicken like this. It makes it so much easier to keep my hands and the kitchen clean.
Mix the breadcrumbs, shredded Parmesan cheese , parsley, salt, and ground black pepper together in a shallow bowl.
, parsley, salt, and ground black pepper together in a shallow bowl.This will be the base of your crispy Parmesan Crust!
In a second dish, mix the butter (melted over medium heat), lemon juice and garlic together.
and garlic together.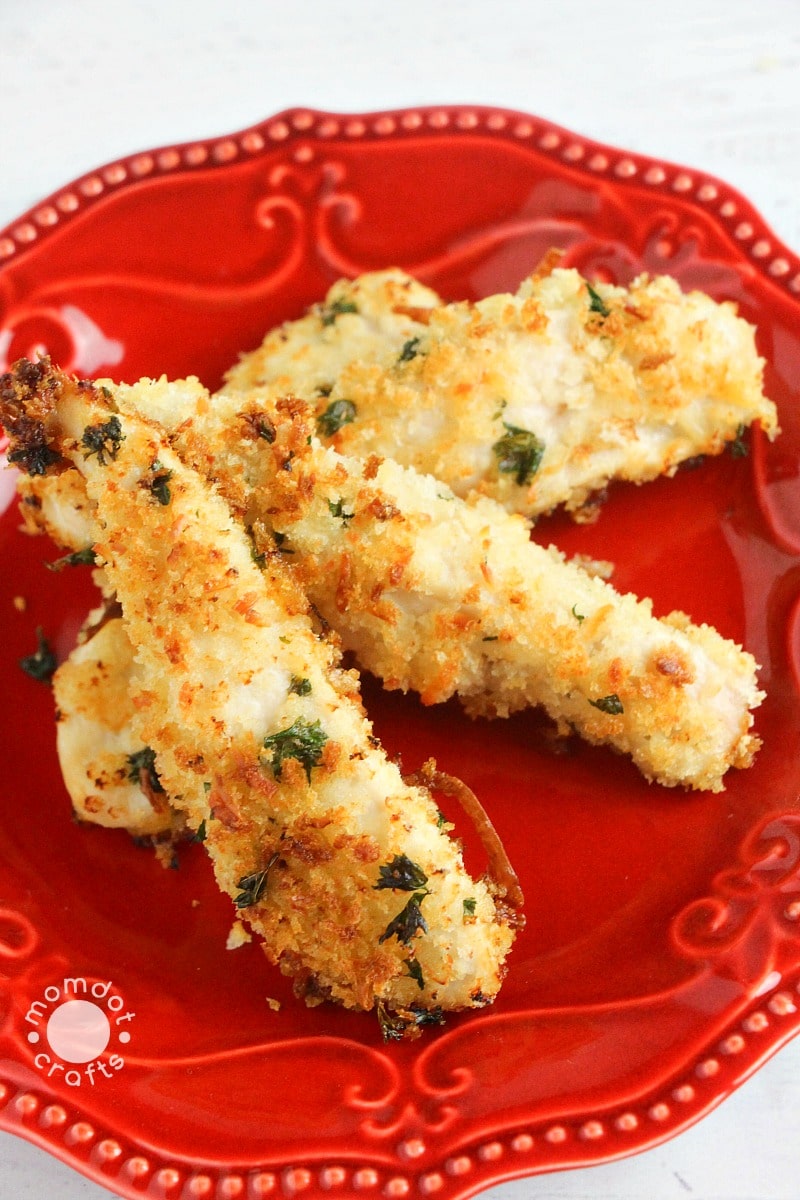
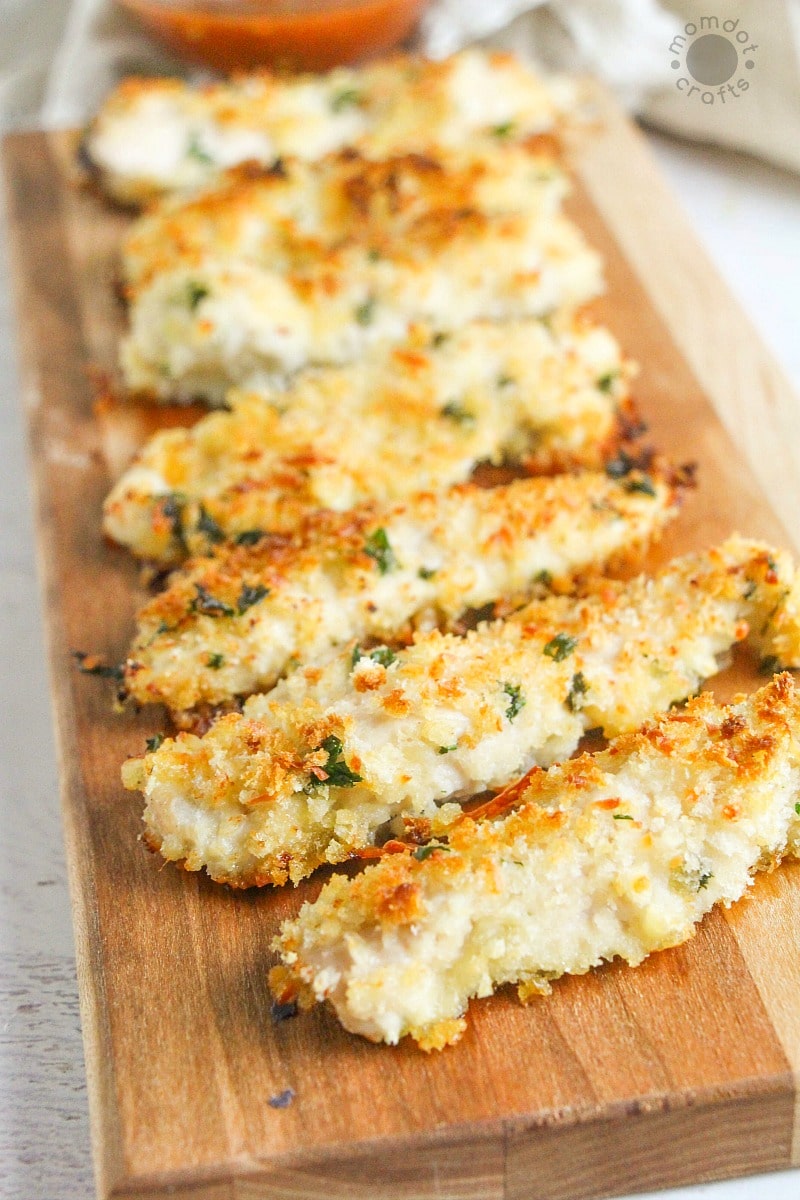
Dip both sides of the chicken in the butter mixture, and then repeat with the crumb mixture until the chicken is fully breaded.
Place the chicken in a casserole dish or cookie sheet , repeating with all chicken fingers.
, repeating with all chicken fingers.Pro-tip while Baking
To keep the mess to a minimum for a dredging assembly line, line up your cutting board next to the dishes with the butter and crumbs, making sure you have no space between. Place your baking dish at the end of the line and voila! a neat and tidy dredge.
Bake for 20-25 minutes until an inserted instant-read thermometer reads 165F. However, beware, the cooking time on this recipe can vary depending on how small or large you leave your chicken pieces.
Full breasts or half breasts will take a bit longer than this, nuggets will take a bit less.
Option: Easily take this recipe baked chicken Parmesan and turn it into baked ranch Parmesan chicken by adding some of this!
At my house we love to serve this with a caesar salad tossed with dressing, or over spaghetti with our favorite jarred sauce. It would also pair well with a side of mashed potatoes or veggies!
Sometimes we forgo the pasta and just serve with marinara sauce for dipping. To make it a bit fancier looking, you can also sprinkle with a tablespoon of fresh parsley and thyme to add freshness and a bit of color.
UNDERCOOKED CHICKEN, NO MORE.
There have been countless dinners in my past where I got the plates and the food to the table to find the chicken was NOT cooked. I’ve caught my mistake every time so far (knock on wood) but it’s always a bit of a mystery to figure out when the chicken is ready to come out, but not overcooked.
What I’ve learned over the years is that there are four ways to tell if your chicken is ready to eat or not:
COOKED CHICKEN TEMPERATURE
You may be asking yourself “If the chicken is white, does that mean it’s done?” This is a common question when it comes to baking chicken. Here are some ways how to tell if a chicken is cooked fully.
Color
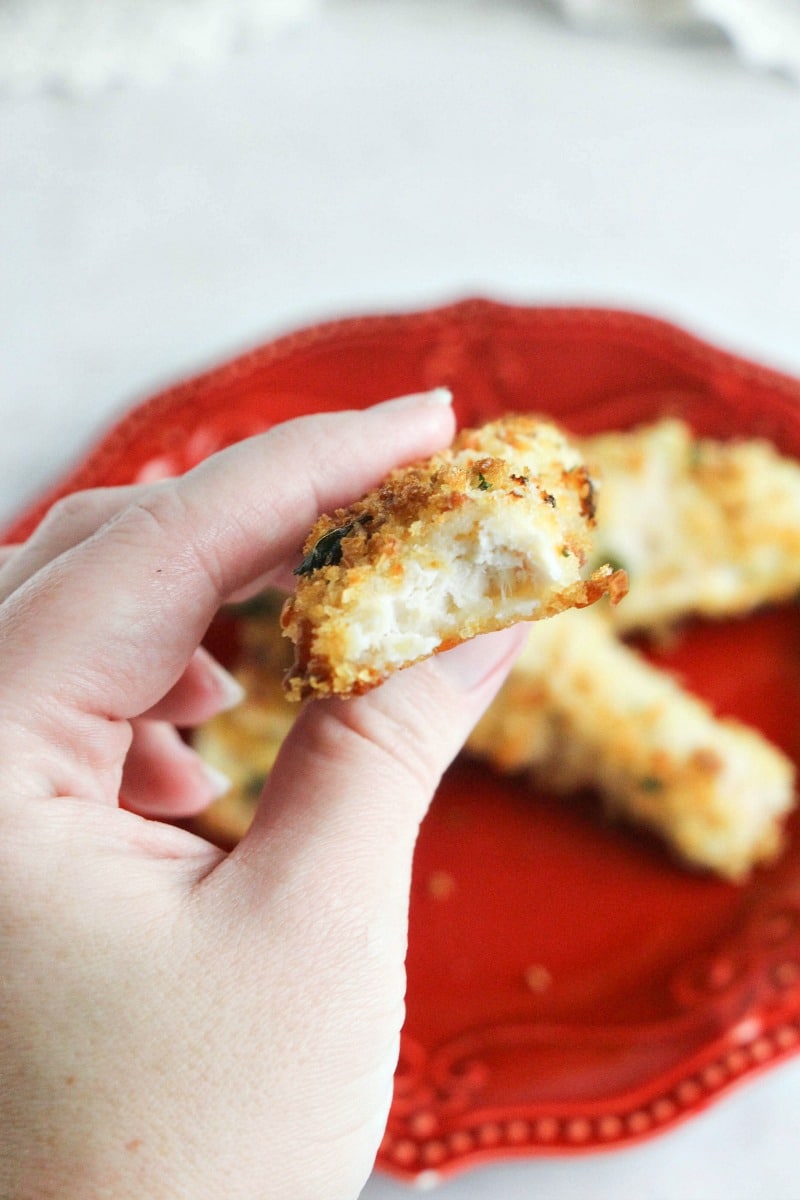
Color is pretty much the most obvious clue your chicken is done – it should be pale in color and no longer pink. The great trick is to figure out if the inside of the chicken is pale as well.
Because I hate cutting the pieces in half (all the juices run out) I use another trick.
I take a fork and press it into the thickest part of the largest piece I’m cooking and give it a little twist. This lets me see both the color of the juices in the chicken and the color of the meat inside.
When cooked, the juices should be clear, and the meat should be pale inside as well. Pinkish juices mean more time in the oven!
Size
Another easy way to tell your chicken is ready is by size. Until the very end, when the interior of the chicken cooks (because it’s cooking from the outside in) your chicken pieces should remain the same size as when you put them in.
But in those last minutes when the inside cooks, the piece should visibly shrink in size. Obviously, this isn’t an exact measurement, but it has gotten several meals to the table without me accidentally over/under cooking more than a few times.
Temperature
Temperature is the most objective way to tell whether chicken is cooked. The USDA recommends cooking all chicken to an internal temperature of 165F. If you’re cooking pieces with the bone in, or a whole chicken, you want to take the temperature in the largest piece of meat, without hitting the bone.
If you do hit bone, the temp will usually read higher than the surrounding meat which means you take the whole thing out too early.
Chefs also recommend pulling meat a few degrees before the final desired temp to account for carryover cooking – the claim is that the meat will continue to cook for a few minutes and increase in temp after you take it out and let it rest.
However, in all my attempts, I’ve never had the meat do anything but drop in temp when I take it out, so I always cook to the end temperature I want. Experiment with this.
I love a probe thermometer for chicken – you insert it before cooking, and it alerts you when the meat reaches the temperature you set. This way I’m all set to monitor the temperature without opening my oven, without wrestling with chicken in front of the hot oven, and I know when the meat is most likely to be done.
If you don’t have a probe thermometer, any standard meat thermometer works fine – but remember to think about cross contamination – once you’ve taken the temp of undercooked meat, you want to disinfect it before you use it again. I just give it a quick wipe with an antibacterial wipe.
Texture
Raw chicken is sort of rubbery and wobbly – cooked chicken is firm but tender. Getting the feel of chicken’s doneness by feel is probably the most challenging, but if you combine texture clues with the others, you’ll be close to landing perfectly cooked chicken on the table.
The best way to start “reading” the texture of your chicken is to gently press down on the middle of a piece and feel for give. Does it feel firm? Does it feel gooey?
Try to compare the texture of the meat you have to what you’ve had on your plate before.
Overall, I find this the most difficult way to test boneless, skinless pieces, but much more helpful when cooking bone-in or whole chickens. In those cases, I try to get a hold of a piece of bone (legs are great for this) and give the bone a bit of a twist. If it moves easily, separating from the meat, you’re likely dealing with completely baked chicken.
Chicken is a pretty major staple for a lot of homes. Hopefully with these quick tips, baking things like this Baked Parmesan Crusted Chicken will no longer be a great mystery in your house.
Here’s to dinners without surprises!
If you’re tired of chicken recipes, this recipe can also be made with pork chops, is fantastic with turkey breast and even try a firm white fish like tilapia or cod.
It’s one of my favorite ways to help round out our proteins in the week and lets me buy whatever is on sale at the store that week.
Baked Parmesan Crusted Chicken
Baked Parmesan Crusted Chicken, a perfect chicken finger recipe for dinner tonight! Kid friendly and super easy to make
What You Need
- 4 Chicken breasts boneless, skinless
- 1 cup panko bread crumbs
- 1/2 cup grated parmesan cheese
- 3 tablespoons minced parsley
- Salt & pepper to taste
- 3 Tablespoons melted butter
- 3 Tablespoons fresh lemon juice
- 2 garlic cloves minced
Instructions
- Preheat oven to 350 degrees.
- Chop up your parsley and garlic.
- Slice the chicken into "fingers" - cutting lengthwise and cutting thicker pieces in half again, for even thickness throughout.
- Mix the bread crumbs, parmesan cheese, parsley, salt, and pepper together in a shallow dish.
- In a second dish, mix the butter, lemon juice and garlic together.
- Dip both sides of the chicken in the butter mixture, and then repeat with the crumb mixture until the chicken is fully breaded.
- Place the chicken in a casserole dish or cookie sheet and repeat with all chicken fingers.
- Bake for 20-25 minutes until an inserted thermometer reads 165F.
Notes
Chicken is amazingly easy to make!
This is a twist on a classic chicken fingers but done in the oven instead.
The Parmesan helps the flavor and seals in a moist chicken.
Fried chicken is great, but you will not be disappointed with how your panko turns out
more recipes @ https://www.momdot.com


